Add Your Repository to AtScale
Once you have created your private repository, you can add it to AtScale.
To add your repository to AtScale:
-
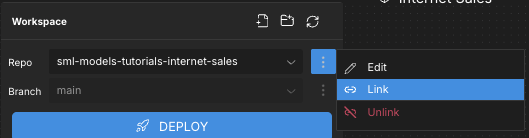
In Design Center, in the left-side navigation, click Workspace. The Workspace panel opens.
-
Click the context menu at the top of the panel and select Link. The Link Repo panel appears.
-
In the Link Repo panel, complete the following fields:
- Repo Name: Enter a name for the repository to use within AtScale.
- URL: Enter the URL for the repository.
-
Click Link Repo. The new repository appears in the dropdown menu in the Workspace panel.
-
Log in to your Git account.
-
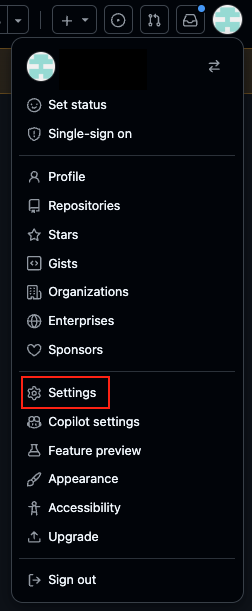
Click your profile icon in the top-right corner and select Settings. The Settings page opens.
-
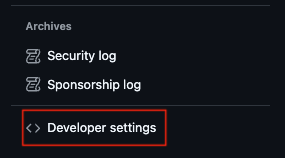
In the left-side navigation, at the bottom, click Developer Settings.
-
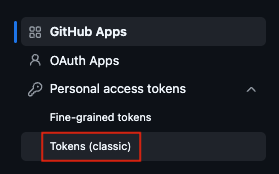
In the left-side navigation, click Personal access tokens > Tokens (classic).
-
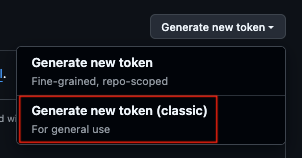
Click Generate new token > Generate new token (classic).
-
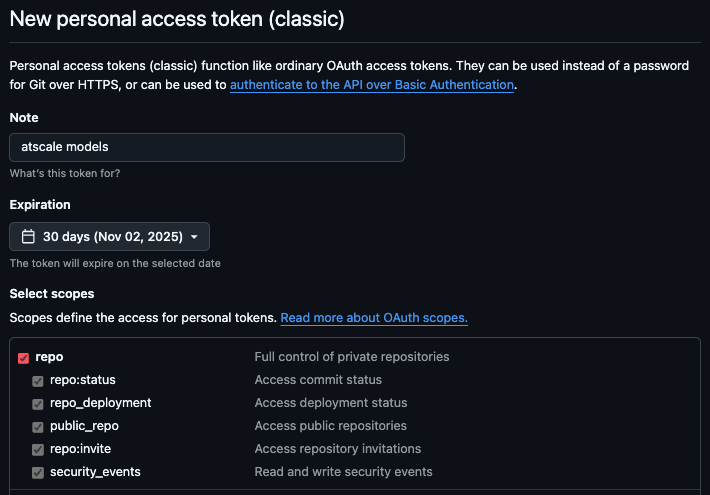
Complete the following fields:
- Note: Enter a name or other note to identify the token.
- Expiration: Select an expiration date for the token.
- Select scopes: Select the repo scope.
-
At the bottom of the page, click Generate token.
-
Copy the token and save it somewhere.
NoteThis is the last time GitHub will show you the token. Save the token somewhere safe that you can easily access. If you forget or lose your token, go back to step 5 and repeat. There is no way to recover a token.
-
In Design Center, enter your Git credentials:
-
In AtScale, click the profile icon in the top right corner. The Account panel opens.
-
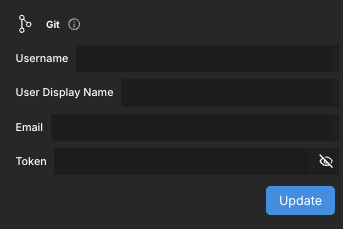
In the Git section of the panel, enter the following details:
- Username: Enter your Git username.
- User Display Name: Enter a display name to use within AtScale.
- Email: Enter the email address associated with your Git account.
- Token: Enter the personal access token you created above.
-
Click Update.
-
Next, you should add your data warehouse to AtScale.